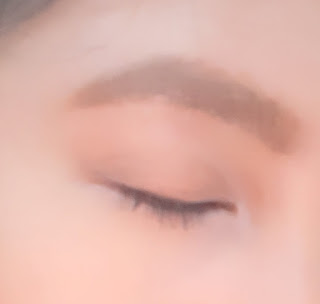
Today we're going to be doing something very different: an actual eye-make up tutorial. Unfortunately, it's mostly theoretical since my camera really won't capture my eyes properly. Still, I hope this will be helpful to someone, though it's a very specific subset of people who will benefit.
Now, this tutorial is only for someone with small, deep-set and close-set eyes (my own, eye shape). I've been trying out a lot of different styles but I've found that my eye shape requires a fusion of east and west to look most-flattering. This is how you do it, and why:
1. Use a brightening concealer at the under-eye area ONLY. No concealing near the browbone. You can use a base shadow/foundation on the upper lid, but nothing brighter. The under-eye concealer, concentrated at the medial side will brighten and bring forward the eye socket. Putting a brightener, even on the brow bone only, brings it forward and cancels the effect of the under-eye concealer.
After this, procede to actual eyeshadow. You can do whatever style you please but keep in mind the next two points when constructing the eye look.
2. Use a bright inner color highlight and extend it up past the crease into the edge of the eye socket. You can choose to blend or leave it be for a more dramatic effect. This serves two purposes besides the normal awakening effect. The first is to widen the gap between close set-eyes and to bring forward the eye socket even more.
If you look at final picture, the darker spot near that highlight is actually how deep my socket is, translated by the phone camera. By carving a new, artificial eye-socket line in, you're giving the illusion of a bigger, more lateral, and brighter eye area at the same time.
3. Put a dark shadow and/or eyeliner somewhere between a third to halfway of the upper lash line. If you extend it upward, the same rule applies: it must only be as long as a third of the distance between the end of the brow and the lashline. This is to enlarge and elongate the eye area. Starting the eyeliner too close to the inner eye makes it look smaller. Extending the eye laterally makes it look longer, and leaving a large space between the liner/shadow and the lateral tip of the eyebrow creates a space that balances the eye, which is more flattering for a smaller eye.
A lighter eyeshadow can be pulled up higher, with caution, but the darkest part must be concentrated quite close to the lashline. An upturned eye is optional, a more horizontal line works well too. Just remember that too much darkness around the eye will make it recede AND look like a tadpole.
I chose a natural look and the camera didn't really pick it up well. orz. Buy there you have it. A special tutorial for small, deep-set and close-set eyes!


No comments:
Post a Comment